How To
GROWWWW
YOUR OWN
HOW TO GROW
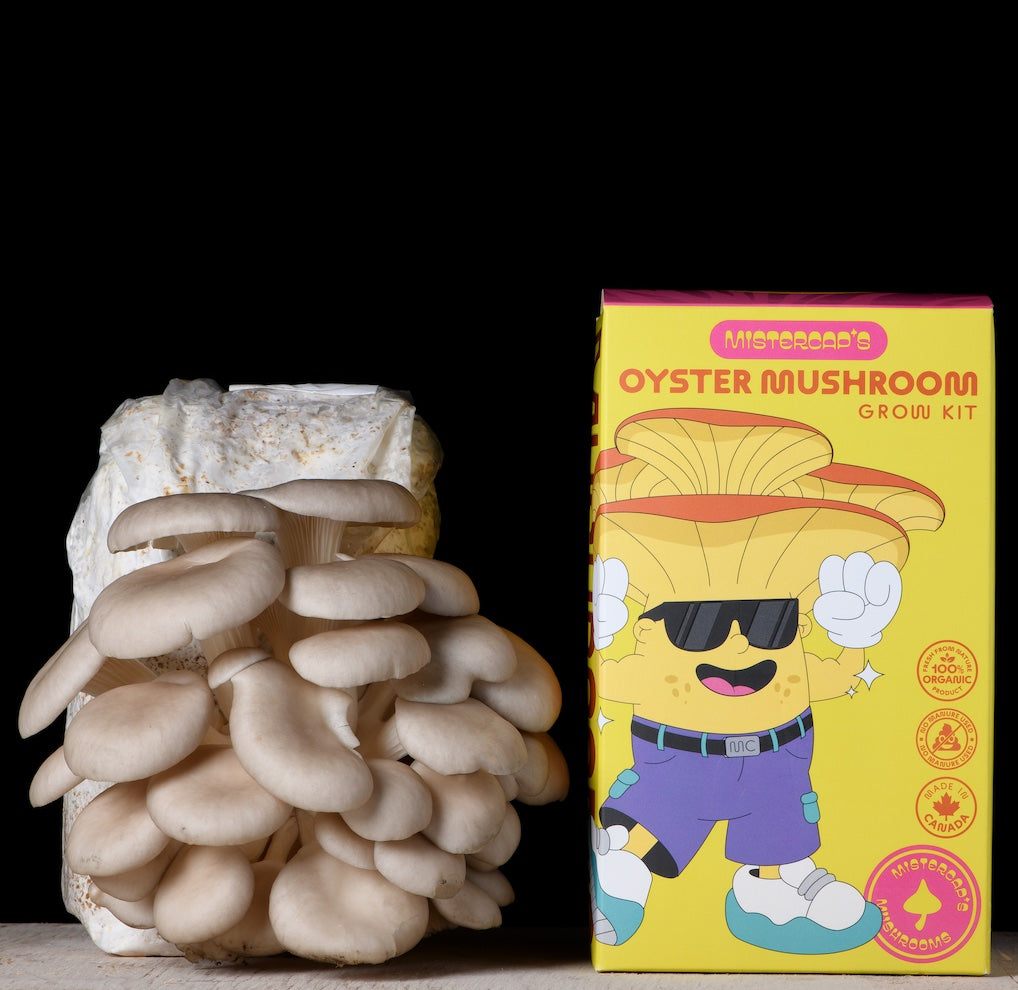
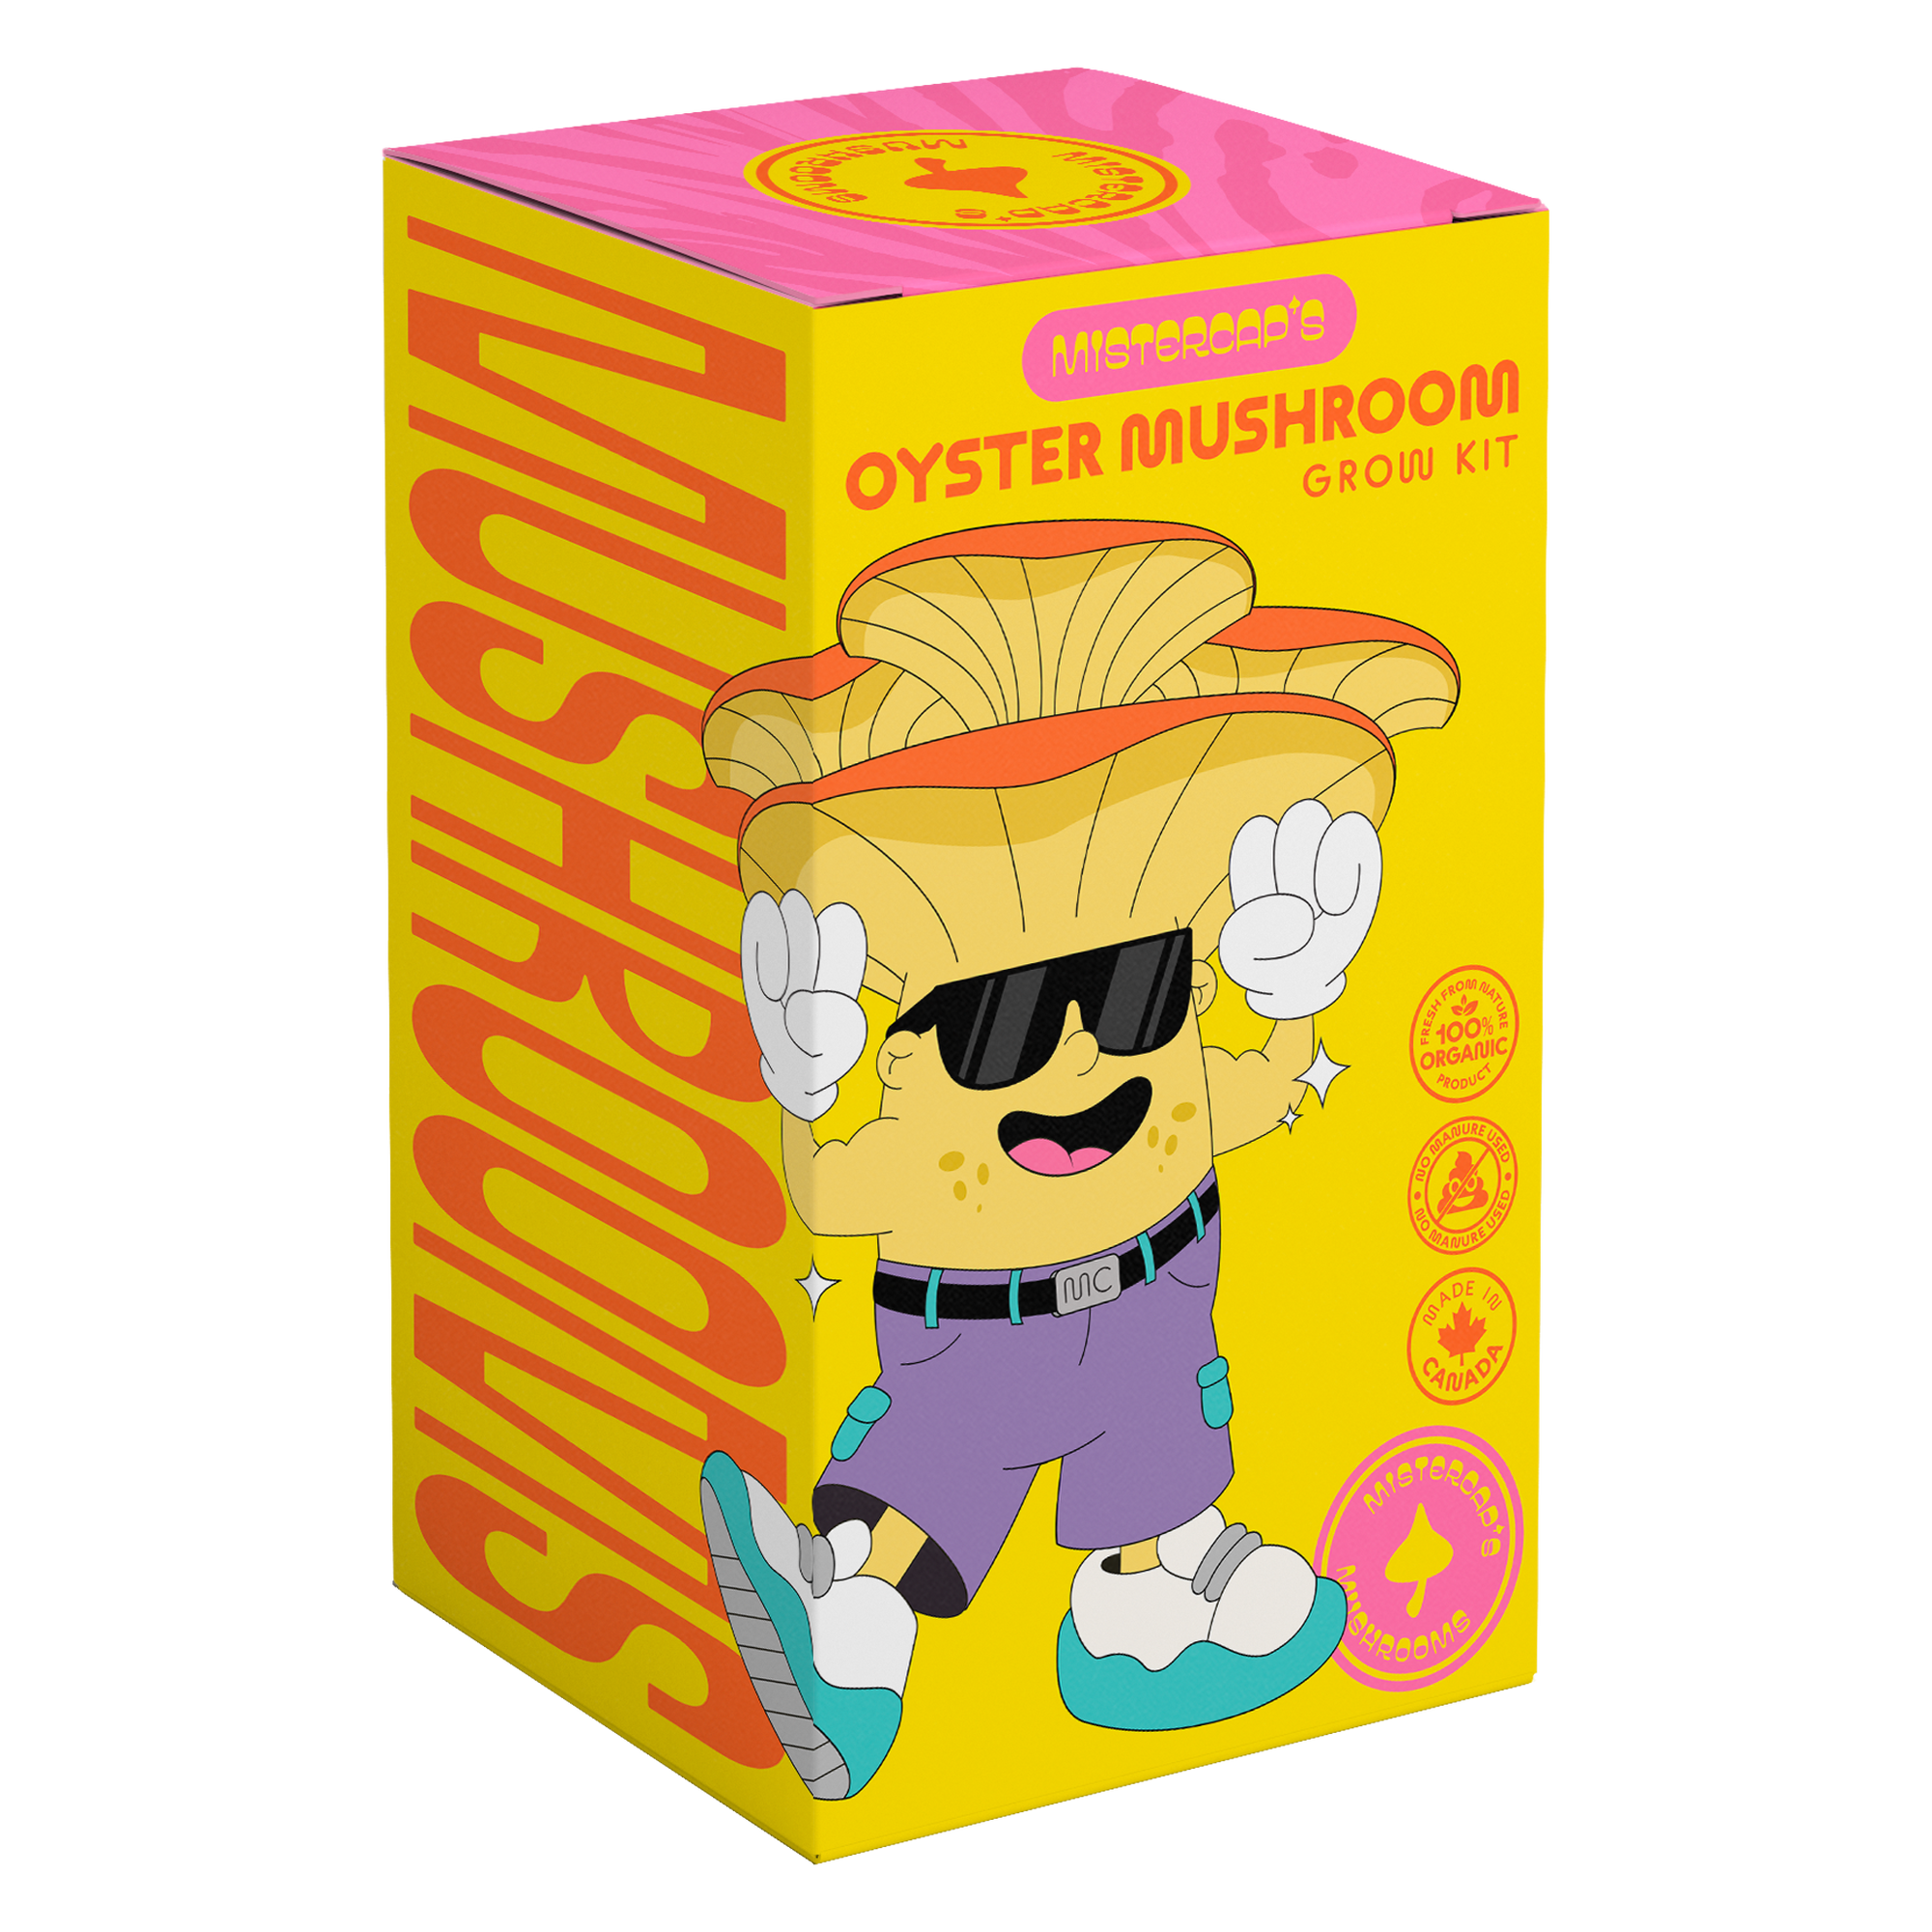
OYSTER
1.OPEN
Open the box and remove the provided humidity tent, spray bottle & mushroom block. With scissors, cut a 4” slit across one side of the plastic bag, from corner to corner. Soak the block in a pot of water for 4 hours. Ensure it is totally submerged by placing something heavy on top of the block. KEEP THE BLOCK INSIDE OF THE PLASTIC BAG

2.PLACE
Place a damp paper towel on a plate, then set the mushroom block on top of the paper towel. Using the provided humidity tent, roll the opening of the tent up and stand it loosely over your block. Mist the block and the inside of the humidity tent 1-3 times per day, depending on your climate.Find a good spot for your block to live for the next few weeks. An ideal spot would be in the most humid part of your house on a counter top or shelf (not inside a cupboard or closed off room). Keep out of direct sunlight and away from drafts or heaters. Stand the block up and the mushrooms will grow from the slit.
3.CARE
Using the provided spray bottle, mist around the slit of your block and then place the provided humidity tent over the block. Mist inside the tent to create a humid environment. Mist 1-3 times a day while you wait for mushroom pins to appear. Once you see the oysters starting to pin, ensure that the block never dries out, but misting frequency can be reduced.

4.HARVEST
In 1-3 weeks, you should start seeing little mushroom pins poking out of the slit on your block. Mist multiple times a day and make sure the mushrooms are not drying out. In about 4 days you will have full sized mushrooms ready to pick and eat! Harvest when the caps are big and open, before they fully flatten out and the edges start to crack.

5.REPEAT
After you have harvested the mushrooms, simply continue misting and within 3 weeks you should get an additional flush of mushrooms. You can get 2 - 4 flushes of mushrooms from this block.

6.ENJOY
Take all your wonderful new mushrooms and incorporate them in a tasty dish or snack. Check out our recipe section for ideas.

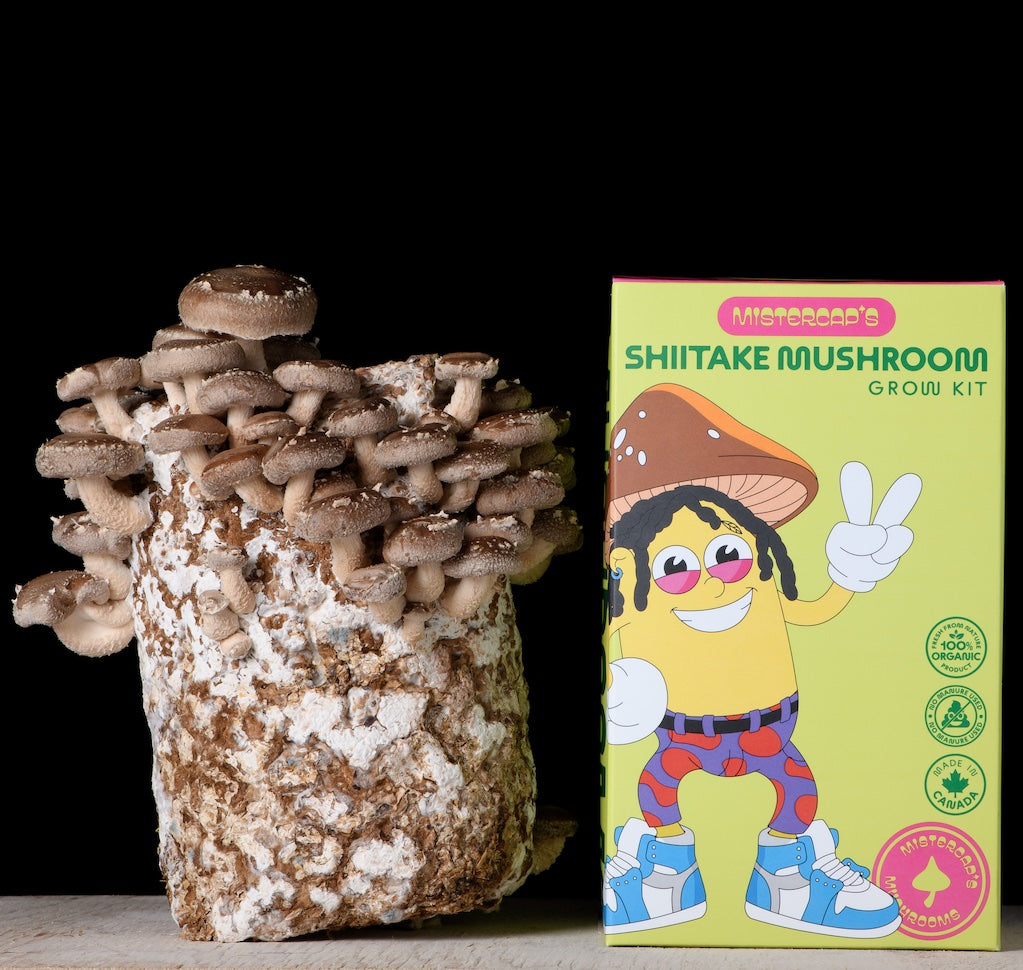
HOW TO GROW
SHIITAKE
1.COLD SHOCK
Open the box and remove the humidity bag, spray bottle & mushroom block from the box. Put the new mushroom block in the fridge for at least 24-hours before setting it up.
2.Drop Shock
Remove the block from the fridge and drop it from a height of 12” onto a hard surface, to send a shock through the block. Cut open the bag and leave about 2” of the bag at the bottom of the block, similar to a bowl holding the block. Remove any mushroom pins that might have grown prematurely.

3.SETUP
Place a damp paper towel on a plate, then set the mushroom block on top of the paper towel. Using the provided humidity tent, roll the opening of the tent up and stand it loosely over your block. Mist the block and the inside of the humidity tent 1-3 times per day.Find a good spot for your block to live. An ideal spot would be on a countertop, out of direct sunlight and away from drafts or heaters. We recommend placing it on your kitchen counter!
4.HARVEST
In 1-2 weeks, you should see mushroom pins starting to grow all over the block. Harvest when the caps start to open up and the gills on the underside of the cap are visible, before the caps fully flatten out.
5.RESET
Remove the humidity tent and stop misting the block. Let the block rest & dry out for 2 weeks before attempting the next flush.
6.REPEAT
Soak the block in a pot of cold water overnight. Set something heavy on top of the block to ensure it is fully submerged in water. Follow Steps 3-6 to begin the next flush. This block should give 2-4 harvests of mushrooms. Throw the block in the compost when it starts to fall apart or if it develops green mold.
7.ENJOY
Take all your wonderful new mushrooms and incorporate them in a tasty dish or snack. Check out our recipe section for ideas.
HOW TO GROW
LIONS MANE
1.OPEN
Open the box and remove the provided humidity tent, spray bottle & mushroom block. With scissors, make an X-shaped cut on the block, close to the top. In a few days, you may see a new white bump form somewhere under the plastic. Make a second 'x' cut there. If you don’t see any new white bumps, no worries, just make your 2nd cut somewhere else on the block that has a lot of white, colonised mycelium KEEP THE BLOCK INSIDE OF THE PLASTIC BAG
2.Place
Place a damp paper towel on a plate, then set the mushroom block on top of the paper towel. Using the provided humidity tent, roll the opening of the tent up and stand it loosely over your block. Mist the block and the inside of the humidity tent 1-3 times per day, depending on your climateFind a good spot for your block to live. An ideal spot would be on a countertop, out of direct sunlight and away from drafts or heaters. We recommend placing it on your kitchen counter
3.Care
Using the provided spray bottle, mist around the slits on your block and the inside of the humidity tent. Misting 1-2 times daily should be plenty, depending on the humidity of the environment.
4.Harvest
Now the exciting part! After 7-10 days, small mushroom pins should be starting to poke out of the cuts on the block. The mushrooms will take about one week to mature. During this time, mist multiple times a day to make sure the mushrooms do not dry out. Harvest when the mushroom starts to develop hanging, icicle-like structuresFor nice hanging teeth, we need to control the humidity. Try not to soak the mushroom itself with water too much when misting. Aim for around 85% humidity while growing. A light condensation on the inside of the grow tent is perfect.
5.Rehydrate
After harvesting, simply continue misting daily and within 3 weeks, you should get another flush of mushrooms. You can get 2 - 4 flushes of mushrooms from this block.
6.Enjoy
Take all your wonderful new mushrooms and incorporate them in a tasty dish or snack. Check out our recipe section for ideas.